
How to Highlight your miniatures
We are taking a deep dive into two methods used for highlighting your miniatures. Edge Highlighting and the Slap-chop/ zenithal priming techniques. #miniaturepainting, #slapchop, #warhammer40k
Shaun Montgomery
10/3/20245 min read
How to Highlight Miniatures: Edge Highlighting and Slapchop Techniques
Highlighting miniatures is one of the most satisfying parts of painting, where your models really come to life with depth and dimension. While it might seem tricky at first, highlighting is something that every painter can master with a little practice. In this guide, we'll walk through two popular methods for highlighting miniatures: Edge Highlighting and the Slapchop/Zenithal Priming Method using contrast or speed paints. Both are great techniques, each with its own advantages.
Whether you're looking for clean, precise highlights or quick, effective results, these methods will help you bring out the best in your miniatures. Let’s dive into each method!
Method 1: Edge Highlighting
Edge highlighting is a classic technique that gives miniatures a crisp, clean look. It’s perfect for painting hard surfaces like armor, weapons, and machinery because it accentuates the edges of the model, making them pop. This method works especially well on miniatures with sharp details and angular designs.
Step-by-Step Guide to Edge Highlighting
Step 1: Choose Your Highlight Color
The first step is selecting the right highlight color. You’ll want a color that is one or two shades lighter than the base coat. For example, if you're working on red armor, use a light red or even an orange for your highlights. The goal is to create a noticeable contrast without it looking too stark.
Step 2: Use a Fine Brush
For edge highlighting, you’ll need a fine detail brush, preferably one with a sharp point. A size 00 or 000 works great. Make sure the brush is clean and holds a fine point to get those sharp, clean lines.
Step 3: Paint the Raised Edges
With a minimal amount of paint on your brush, gently drag it along the raised edges of the miniature. You don’t want to load too much paint onto the brush—less is more with this technique. Start with the largest and most obvious edges, like the corners of armor plates or weapons, and work your way to the smaller details.
Pro Tip: Use the side of the brush to drag paint along the edge rather than the tip. This gives you more control and creates a smoother line.
Step 4: Clean Up and Refine
If your lines are too thick or uneven, you can always go back with your base coat color to clean them up. Edge highlighting is all about precision, so don’t be afraid to take your time and make adjustments as needed.
Common Mistakes in Edge Highlighting
Too much paint on the brush: This can result in thick, blobby lines. Wipe off excess paint before applying.
Harsh contrasts: If your highlight color is too light compared to your base color, the highlights may look too sharp. Try mixing in some of your base color for smoother transitions. This method takes a lot of practice and brush control. I am able to do basic edge high-lighting but still am very much a novice when it comes to the more advanced techniques. Games Workshop “Heavy Metal” painting team make it look easy.
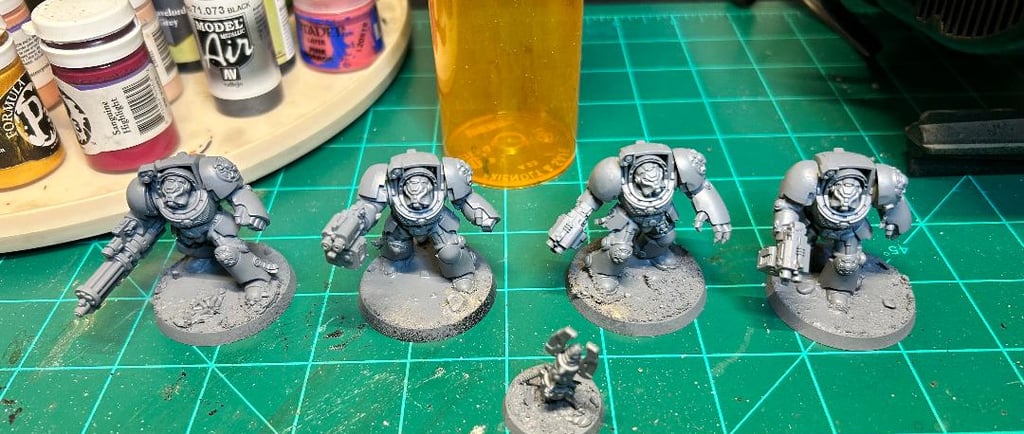
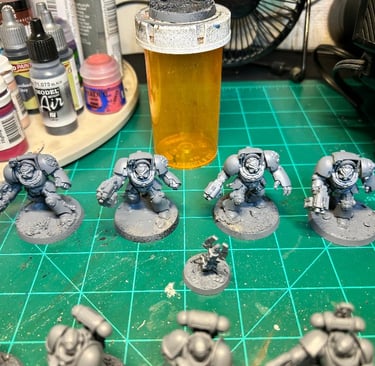
Method 2: Slapchop/Zenithal Priming with Contrast or Speed Paints
The Slapchop method, sometimes known as Zenithal Priming, is a faster, more efficient way to highlight miniatures—perfect for hobbyists who want to paint armies quickly. This technique combines a black primer, a light spray to create highlights, and the use of contrast or speed paints to quickly bring out shadows and details.
Step-by-Step Guide to the Slapchop/Zenithal Method
Step 1: Prime the Miniature Black
Start by priming your miniature with a black primer. This provides the deepest shadows and gives your model a solid foundation. Spray evenly from all angles to ensure that the black coat covers every surface.
Step 2: Zenithal Highlighting
Next, you’ll apply a zenithal highlight, which is where the magic of this method happens. Using a white or light grey spray paint, lightly spray the miniature from above at a 45-degree angle. This creates natural highlights by catching only the raised surfaces, mimicking the effect of light shining from above. The black remains in the recesses, creating instant shadows.
Pro Tip: For a softer highlight, use grey for your zenithal priming. For sharper, more dramatic highlights, use white. To avoid over spraying I typically prefer to dry brush my Zenithal gray to white over the top surfaces. It helps me avoid the over spray. A more advanced method you can try is spraying a darker shadow color through an airbrush from below to really make those shadows pop.
Step 3: Apply Contrast or Speed Paints
Now comes the fun part. Apply contrast paints or speed paints directly over the zenithal highlight. These paints are designed to be translucent, meaning they’ll tint the lighter areas while allowing the dark shadows to remain. This method is fast and effective because the paints do most of the work for you, creating natural shading and highlights with minimal effort.
Contrast Paints: These paints flow into the recesses and create natural shading without needing multiple layers. Ideal for getting tabletop-ready miniatures fast.
Speed Paints: Similar to contrast paints, speed paints are designed to work over pre-highlighted models, offering strong pigments that work beautifully with the zenithal method.
Step 4: Add Final Highlights (Optional)
While the slapchop method does most of the highlighting for you, you can go back and add a few edge highlights or bright spots to really make certain areas pop. Use a fine detail brush and a color lighter than the one you used for your contrast paint to enhance the raised areas.
Common Mistakes with the Slapchop Method
Over-priming with white: Be careful not to spray too much white during the zenithal step. You want a light dusting to catch the raised areas, not to obscure the black primer entirely.
Too thick of contrast paint: If your contrast or speed paints are too thick, they can obscure the zenithal highlights. If needed, thin the paints slightly to maintain transparency. These paints are typically thinner and have a tendency to run so pay attention to the amount of paint you have loaded on your brush and apply accordingly.
When to Use Each Method
Edge Highlighting: Best used for models where you want precise control over the highlights, like highly detailed characters or small-scale figures. This method is slower but gives a more polished and professional finish.
Slapchop/Zenithal Method: Perfect for batch painting or when you want to paint an army quickly without sacrificing quality. This method is faster and relies on the zenithal highlight and contrast paints to do the heavy lifting.
Final Thoughts: Choosing the Right Highlighting Technique
Both edge highlighting and the slapchop/zenithal method are fantastic tools in your miniature painting arsenal. The key to mastering these techniques is practice, patience, and finding what works best for you. If you’re after crisp, clean lines and sharp highlights, edge highlighting is your go-to. If you're looking to paint efficiently while still achieving dynamic highlights, the slapchop method is an excellent option.
No matter which technique you choose, remember that highlighting is what really makes your miniatures come to life. So grab your brushes, take your time, and enjoy the process!
Related Articles:
FAQs
How do I know when to stop edge highlighting?
When your highlights make the details pop but don’t overpower the model, you’ve probably found the sweet spot. Less is often more with edge highlighting!Can I use slapchop for every type of miniature?
Absolutely! The slapchop method works especially well for models with lots of raised detail, but it can be used on just about any type of miniature, from fantasy to sci-fi.What’s the difference between contrast paints and speed paints?
Both are designed to create shading and highlights with minimal effort. Contrast paints tend to be more transparent and flow into recesses, while speed paints are generally more pigmented but work in a similar way.