
How to paint metallics on your miniatures
Join us for a look at painting metal on your miniatures we will cover True metallic Metal(TMM) and Non Metallic Metal (NMM)
Shaun Montgomery
10/4/20246 min read
How to Paint Metallic Effects on Miniatures: True Metallics and Non-Metallic Metal Techniques
Painting metallic effects on miniatures is one of the most exciting parts of miniature painting. Whether it's shining armor, weapons, or intricate details, metallics can make your models stand out on the tabletop. There are two main approaches to achieving realistic metallic effects: True Metallics (TMM) and Non-Metallic Metal (NMM). Both techniques have their strengths, and learning when and how to use each one will elevate your miniatures to the next level.
In this post, we’ll break down the differences between true metallics and non-metallic metal, explain how to master each technique, and offer tips to help you avoid common pitfalls. Let’s dive in!
What Are True Metallics (TMM)?
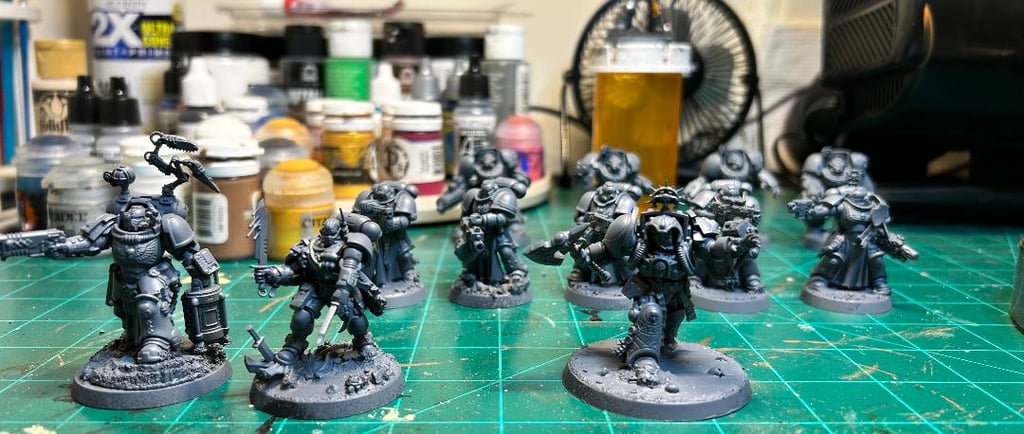
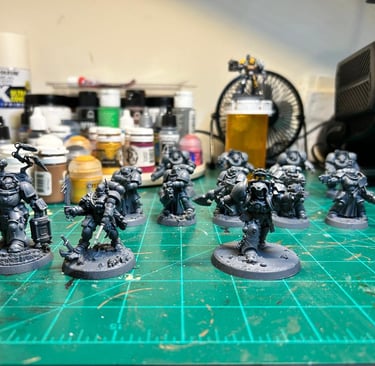
True metallics involve using actual metallic paints to simulate metal surfaces. These paints contain tiny metal flakes that reflect light, giving the surface a shiny, realistic appearance. TMM is great for quickly achieving metallic effects with minimal effort, making it perfect for painting large areas like armor and weapons. I use True metallics on pretty much everything I paint for my own Armies withing the hobby. It definitely speeds up the process when you are batch painting a squad of Space Marines!
How to Paint True Metallics
Step 1: Choose Your Metallic Paint
Metallic paints come in various shades, such as silver, gold, bronze, and copper. Brands like Citadel, Vallejo, and Army Painter offer a wide range of metallic paints. Select the color that best fits the material you're painting—silver for steel, gold for ornate details, etc. I am a fan of the Vellejo Model Air Metallics! They provide a good coverage and have a wide variety of colors and options within the range. They can be somewhat difficult to track down depending on your area but are readily available from most online merchants.
Step 2: Basecoat the Metallic Area
Before applying metallic paint, it’s a good idea to prime the area with a dark or neutral base color, like black, grey, or dark brown. This helps the metallic shine stand out more and adds depth to the final result.
Step 3: Apply Thin Layers of Metallic Paint
When using metallic paints, apply them in thin layers to avoid obscuring the fine details of your miniature. Metallic paints can be thick, so thinning them with a little water or acrylic medium will give you a smoother finish. Apply one or two thin coats until you achieve an even, solid color.
Step 4: Highlight with a Lighter Metallic Shade
To bring out the shine, use a lighter metallic shade to highlight raised areas. For example, if you used a dark silver for the base, you could highlight with a lighter silver. Drybrush lightly over the raised edges or carefully paint small highlights to mimic where light naturally hits the surface.
Pro Tip: You can use a wash (like Nuln Oil or Agrax Earthshade) over metallic paints to deepen shadows and make the highlights stand out even more. Apply the wash sparingly to prevent dulling the metallic sheen.
Common Mistakes with True Metallics
Too much paint on the brush: Metallic paints can easily clump or pool. Always thin your paints and build up layers gradually.
Not using enough contrast: True metallics shine best when contrasted with deep shadows and bright highlights. Don't be afraid to use washes and lighter metallics to create this contrast.
What Is Non-Metallic Metal (NMM)?
Non-Metallic Metal is a more advanced technique where you use regular, non-metallic paints to simulate the look of reflective metal. NMM relies on careful placement of highlights and shadows to create the illusion of metal, without using any actual metallic paints. It’s commonly used by professional painters for display pieces or competition models. This is a technique I have used for the majority of my competition entries. It is a real showcase of your skill and looks fantastic when it is executed well. Just like miniature painting in general practice makes perfect!
How to Paint Non-Metallic Metal
Step 1: Understand Light and Reflection
The key to NMM is understanding how light interacts with metal surfaces. Metal reflects light sharply, meaning you'll need to create extreme contrasts between light and dark areas. Think about where the light source is coming from and how it would reflect off the surface you're painting.
Step 2: Basecoat with a Neutral Color
Start by basecoating the area with a neutral or mid-tone color. For example, if you’re painting steel, you might use a medium grey. For gold, a warm brown or ochre works well. This will serve as the middle tone between your highlights and shadows.
Step 3: Layer Highlights and Shadows
Using a lighter color, begin highlighting the areas where light would naturally hit. For steel, you can use lighter greys leading up to pure white for the brightest points. For gold, use progressively lighter yellows or beiges.
Shadows are just as important. Use a darker version of your base color for shadows—dark greys for steel, or deep browns for gold. Gradually blend these colors into each other to create a smooth transition from shadow to highlight.
Pro Tip: When painting NMM, it's important to push your contrasts. Go from nearly black in the darkest areas to almost white in the brightest highlights. This extreme contrast is what creates the illusion of reflective metal.
Step 4: Create Sharp Highlights
The final touch in NMM is adding the sharp, bright highlights where the light reflects most intensely. These highlights should be very small and precise. For steel, use pure white on the edges or corners of the surface. For gold, use a pale yellow or white at the brightest points.
Common Mistakes with Non-Metallic Metal
Not enough contrast: One of the most common mistakes with NMM is not pushing the highlights and shadows far enough. The trick is to exaggerate the light and dark areas to make the surface look shiny.
Overblending: While smooth transitions are important, metal often has sharp, reflective edges. Don’t overblend your highlights; leave some areas with sharp contrasts to create the illusion of a reflective surface.
When to Use True Metallics vs. Non-Metallic Metal
True Metallics: Best for tabletop miniatures where you need fast, effective results. It’s also ideal for painting large areas of metallic surfaces like armor, swords, or machinery. TMM gives a realistic shine with minimal effort.
Non-Metallic Metal: Great for display pieces or competitions where you want full control over the light and reflection. NMM takes more time and skill but offers incredible results that can make a miniature look hand-painted with a more artistic style.
Both methods have their place, and choosing between them depends on your project goals. If you're painting an army, true metallics might be the faster, more practical choice. For a single hero or centerpiece model, NMM could give you the artistic effect you’re after.
Final Tips for Painting Metallic Effects
Experiment with mixing metallic and non-metallic paints: You can create custom metallic colors by mixing true metallics with regular paints. This can help tone down the brightness of metallics or give them a unique hue.
Practice makes perfect: Both TMM and NMM require practice. Don’t be discouraged if your first attempts don’t look perfect—each time you paint, you’ll improve!
Use reference images: Whether you’re painting true metallics or NMM, it helps to look at reference images of real metal. Study how light reflects off surfaces like swords, armor, and jewelry to get a better understanding of how to place your highlights and shadows.
Conclusion
Painting metallic effects on miniatures can seem intimidating, but with the right techniques, anyone can achieve stunning results. True Metallics (TMM) offers a quick and effective way to get realistic metallic shine, perfect for large areas and tabletop-ready models. Non-Metallic Metal (NMM), on the other hand, requires more skill but offers unmatched control over the light and shadows, resulting in an artistic, hand-painted effect.
Both methods are fantastic in their own way, and you can even combine them for unique results. So grab your brushes, pick your favorite method, and start experimenting with metallics on your miniatures!
FAQs
What’s the easiest way to paint metallic effects on miniatures?
True metallics are generally easier and faster, especially for beginners. They give instant shine and look great with minimal effort.How long does it take to learn Non-Metallic Metal (NMM)?
NMM takes practice, but with time, you'll get better at controlling the highlights and shadows. Start with small areas, like weapons, and gradually work your way to larger surfaces.Can I mix true metallic and non-metallic metal techniques?
Yes! Some painters use true metallics for the base color and add non-metallic metal techniques for enhanced shading and highlights. Experiment to find what works best for you.