
How to shade your miniatures!
How to shade your miniatures and not spill them all over!
Shaun Montgomery
10/14/20245 min read
Miniature Shading Techniques: How to Shade Like a Pro (Without Spilling Your Wash!)
Shading is one of the most important steps in miniature painting. It adds depth, contrast, and realism to your models, making them look more dynamic and alive. But learning how to properly shade miniatures can be a bit tricky, especially if you’re new to the hobby.
In this post, we’ll cover some of the most effective shading techniques, from using washes to layering and glazing. I’ll also share a little story about my own mishap with a bottle of Nuln Oil that might sound all too familiar! Whether you’re a beginner or looking to refine your skills, these shading tips will help you take your miniatures to the next level.
The Power of Shading
Shading is all about creating contrast. When you apply a shade or wash to your miniature, it flows into the recesses, darkening the shadows and leaving the raised areas brighter. This creates a sense of depth and makes the details pop. Without shading, miniatures can look flat and lifeless, so it’s a crucial step in bringing your models to life.
Let’s dive into a few common shading techniques you can use on your next project.
Technique 1: Using Washes (The Easy Way)
Washes are the go-to shading method for many miniature painters because they’re simple, effective, and quick. A wash is a thinned-down paint or ink that flows into the recesses of your model, darkening the shadows and adding definition to the details.
How to Use a Wash
Step 1: Pick Your Wash
There are many different washes available, but some of the most popular are from Citadel, like Nuln Oil (for dark shadows), Agrax Earthshade (for warm, brownish tones), and Reikland Fleshshade (for skin). Pick the one that complements the color scheme of your miniature.
Step 2: Apply the Wash Generously
Once your base colors are dry, take a large brush and apply the wash generously over the entire model. Don’t be afraid if it looks a bit messy at first—washes are designed to settle in the recesses, so they will naturally flow into the deeper parts of the miniature.
Step 3: Clean Up Excess
If the wash pools too much in certain areas, you can gently dab the excess off with a clean brush or paper towel. This helps prevent your model from looking too dark or blotchy.
Step 4: Let It Dry
Once you’ve applied the wash, let it dry completely. You’ll notice the shadows are deeper, and the details are much more pronounced.
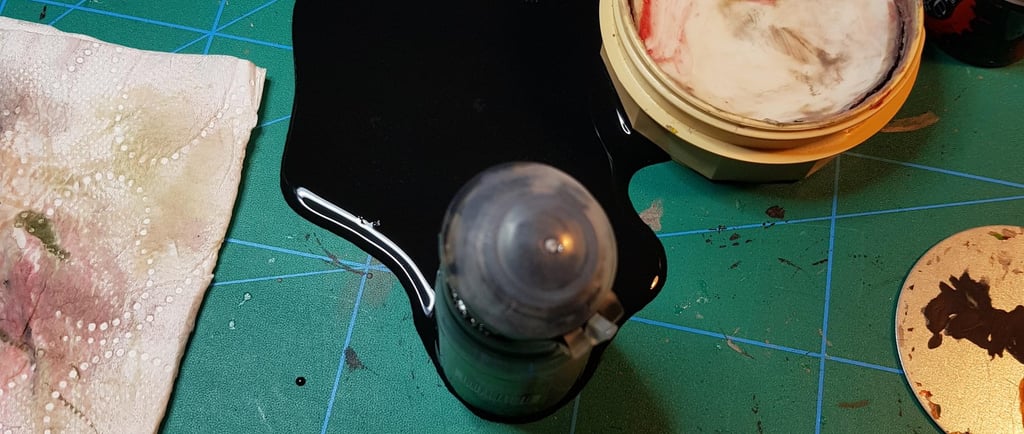
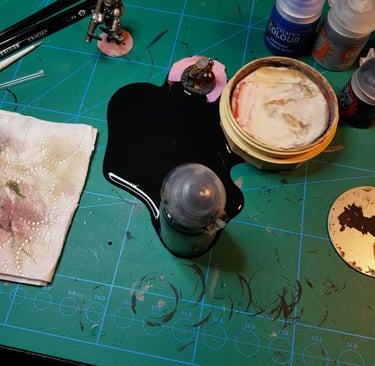
A Tale of Nuln Oil Spills:
Let me tell you, washes are amazing, but they can be a bit hazardous—especially for your hobby desk! One day, while painting a squad of space marines, I reached for my trusty bottle of Nuln Oil to shade their armor. Everything was going great… until I knocked over the bottle. Wash spilled everywhere. No problem, I thought—I cleaned it up, gave myself a little pep talk, and went back to work. But not 10 minutes later, I knocked it over again. At that point, I just had to laugh. If there’s one lesson to take away from this, it’s to always close the lid on your wash bottles between uses. Trust me, you don’t want to waste precious Nuln Oil (or have to clean your desk twice in the same session)!
Technique 2: Layering for Controlled Shading
If you want more control over your shading, layering is a great technique. Instead of applying a wash all over the miniature, you paint the shadows manually using darker versions of your base colors.
How to Use Layering
Step 1: Choose a Darker Shade
For each base color, mix a darker version by adding a little black or a complementary color. For example, if your base color is blue, mix in some dark blue or black to create a shadow tone.
Step 2: Apply to Recesses
Using a small, detail brush, carefully paint the darker shade into the recesses and areas where shadows naturally fall. This method is more precise than using washes and allows you to control exactly where the shadows go.
Step 3: Blend for Smooth Transitions
To avoid harsh lines between the shadows and the base color, gently blend the darker shade into the base coat. You can do this by feathering the edges or using a bit of medium to thin the paint and create smoother transitions.
Layering takes more time than washes but gives you a lot of control over how the shadows look. It’s especially useful for characters or centerpiece models where you want to achieve a clean, polished finish.
Technique 3: Glazing for Subtle Shading
Glazing is another technique that allows you to build up subtle layers of shading. A glaze is a very thin layer of paint applied to tint the surface without covering the underlying color completely. This is great for adding gentle shadows or refining the look of your miniature.
How to Use Glazing
Step 1: Thin Your Paint
To create a glaze, thin your paint with a lot of water or medium. You want the consistency to be almost transparent. If you can see the base color through the glaze, you’re on the right track.
Step 2: Apply in Thin Layers
Use a small brush to apply the glaze to the areas you want to shade. Unlike washes, glazes don’t flow into the recesses as much. Instead, you build up multiple thin layers to gradually darken the shadows or create smooth transitions between colors.
Step 3: Build Gradually
Glazing requires patience. Build up the shading slowly, letting each layer dry before applying the next. This method is ideal for adding subtle depth to skin tones, cloth, or other areas where you don’t want heavy shadows.
Common Shading Mistakes (And How to Avoid Them)
While shading can dramatically improve your miniatures, there are a few common mistakes that hobbyists make. Here’s how to avoid them:
Using too much wash: If you drown your model in wash, it can pool and create splotchy, uneven shadows. Apply the wash sparingly and remove excess as needed.
Not thinning your paints: When layering or glazing, always thin your paints to avoid chalky or streaky finishes. This will help you achieve smoother transitions between shadows and highlights.
Over-shading: It’s easy to get carried away and add too much shadow. Remember, less is often more. Focus on areas where shadows naturally fall, like folds in clothing or under armor plates.
Final Thoughts on Shading Miniatures
Shading is a game-changer when it comes to painting miniatures. Whether you’re using simple washes or more advanced techniques like layering and glazing, shading adds depth, contrast, and realism to your models. While it can take some time to master, the results are absolutely worth it.
And don’t forget, if you’re using a wash like Nuln Oil, always double-check that the bottle is closed! Trust me, you don’t want to be cleaning up the same spill twice in one session.
Related Articles:
How to Highlight Miniatures
Drybrushing Techniques for Beginners
FAQs
What’s the easiest shading technique for beginners?
Using washes is by far the easiest and most effective method for beginners. It’s quick, and it gives great results with minimal effort.How do I avoid pooling when using washes?
Apply the wash in thin layers and use a clean brush to remove any excess that pools in unwanted areas. This will help prevent blotchy or uneven shading.
Can I combine multiple shading techniques on one model?
Absolutely! Many painters use washes for quick shading and then refine the look with layering or glazing for a more polished finish.