
Mastering Dry brushing techniques for miniature painting
We are covering all of the Dry brush techniques for miniature painting in today's article. From Beginner to advanced.
Shaun Montgomery, Griffin Williams
9/20/20245 min read
Mastering Dry Brushing Techniques for Miniature Painting
Dry brushing is one of the most popular and effective techniques used by miniature painters to quickly highlight raised details and bring depth to their models. Whether you're painting fantasy miniatures, sci-fi armies, or even tabletop board game pieces, dry brushing can significantly enhance the appearance of your miniatures with minimal effort. In this guide, we'll explore the best dry brushing techniques, the tools you need, and how to achieve stunning results.
What Is Dry Brushing?
Dry brushing is a painting technique where a minimal amount of paint is applied to a dry brush, and the brush is then lightly swept across the raised surfaces of a miniature. The technique emphasizes texture and creates natural highlights, giving your miniature depth and a worn or weathered look.
Unlike traditional painting methods, dry brushing is meant to deposit paint on the most prominent details without filling in the recessed areas, which is ideal for quickly achieving highlights on complex miniatures. I almost exclusively use dry brushing in my painting preparation. It helps to make the details pop out on the model and allows your eye to pick them out easier. It also helps you identify points on the model that will be the brightest and where the shadows would be.
Why Use Dry Brushing in Miniature Painting?
Quick Highlights: Dry brushing allows you to highlight the raised areas of your miniature with just a few strokes.
Enhanced Texture: The technique emphasizes the texture of the model, making details like armor, fur, and fabric stand out.
Beginner-Friendly: Dry brushing is easy to learn and produces impressive results, even for beginners.
Versatile Application: You can use dry brushing for many different effects, from highlighting worn edges to creating weathered, aged surfaces.
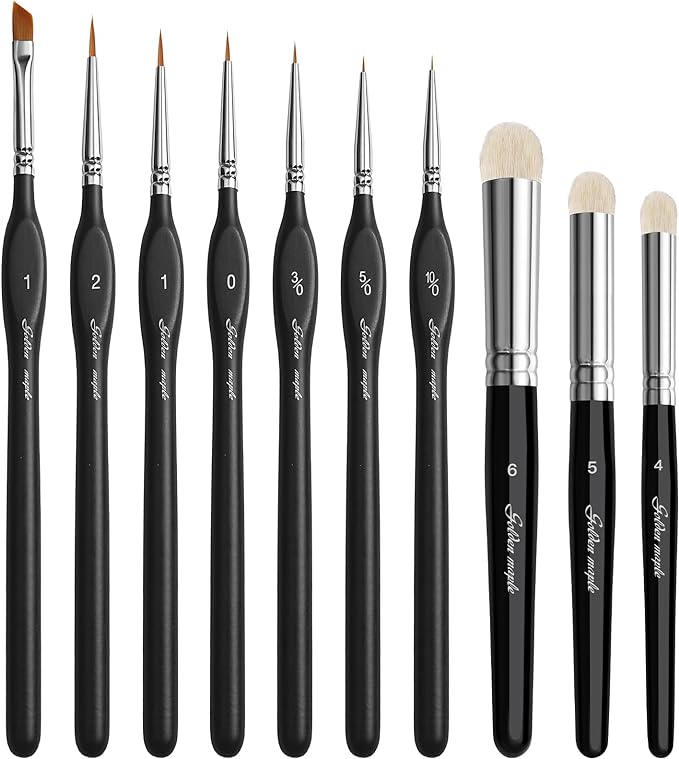
Tools You'll Need for Dry Brushing
Dry Brush:
While you can use almost any brush, it's best to have a stiff-bristled, flat brush specifically for dry brushing. Brushes with synthetic or natural bristles work well, but they will get worn out over time, so it’s often best to use an older brush.
Acrylic Paint:
Acrylic paint is ideal for dry brushing because it dries quickly and works well on plastic, resin, and metal miniatures. Choose a lighter color than your base coat for best results.
Palette or Paper Towel:
You’ll need a surface to remove most of the paint from your brush. A paper towel works well, but you can also use a palette.
Miniatures:
Any miniature can benefit from dry brushing, but models with lots of raised details—such as fur, scales, or armor—are ideal.
Dry Brushing Technique: Step-by-Step Guide
Base Coat Your Miniature
Before starting, ensure that your miniature is base coated in the primary color. Dry brushing works best when it is applied over a dark or neutral base color, as it helps the highlights stand out more clearly.
Load Your Brush with Paint
Dip the tip of your brush into the paint, then immediately remove most of it. You want the brush to look almost dry (hence the name of the technique). Use a paper towel or palette to wipe off excess paint until only a small amount remains on the bristles. The brush should feel nearly dry to the touch.
Lightly Brush the Miniature
Gently sweep the brush across the raised areas of your miniature in a quick, back-and-forth motion. The key is to apply light pressure so that the paint only catches the most prominent details. Start with a light touch and build up the effect gradually, as it’s easier to add more paint than to remove it.
Repeat for Multiple Layers
For a more refined look, you can apply several layers of dry brushing, each with a progressively lighter color. This technique, often called "progressive dry brushing", can create a more natural gradient and enhance the highlights on your model.
Clean Up and Seal
Once you're happy with the highlights, seal your miniature with a matte varnish to protect the paint and give it a finished look.
Best Practices for Dry Brushing
Use Light Colors for Highlights: Dry brushing works best when you use a lighter color than the base coat. For example, if your miniature has a dark blue base coat, try dry brushing with a light blue or even white to bring out the details.
Vary Your Brush Strokes: Don’t always brush in the same direction. Change your angles and strokes to hit the model’s raised areas from different sides, which helps create a more even highlight.
Avoid Too Much Paint: The most common mistake beginners make is using too much paint. Always remember to wipe off most of the paint before applying it to the model—if you see too much paint on the miniature, go back and offload more paint from your brush.
Use a Dedicated Dry Brush: Dry brushing can be hard on brushes, so it’s best to keep a set of brushes specifically for this technique. Over time, your dry brush may fray, but that can actually improve the effect by creating a softer, more textured application. I have found that Cheap Makeup brushes from the dollar store or Walmart/Amazon work the best for dry-brushing. You can find these in a variety of sizes and shapes. Experiment and find the ones that work best for you.
Creative Dry Brushing Effects
Weathering Metal: Dry brushing with metallic paints is a great way to create a weathered or worn look on armor, weapons, or machinery. A base coat of dark silver followed by dry brushing with a lighter metallic color can simulate metal that's been worn down over time.
Aging and Dust Effects: To create an aged or dusty effect, try dry brushing with a light tan or gray color over dark surfaces. This can make miniatures look like they've been through battles or long campaigns.
Highlighting Textured Surfaces: Fur, scales, and fabric textures are perfect for dry brushing. After applying a base coat, a few light strokes of a lighter color can make these textures pop and look more realistic.
Common Dry Brushing Mistakes to Avoid
Using Too Much Paint: Always offload the majority of the paint before dry brushing. Too much paint can result in streaks or blotches.
Not Letting the Base Coat Dry: Make sure your base coat is fully dry before starting to dry brush. Wet paint can mix with your dry brush color and ruin the effect.
Overworking the Surface: Dry brushing is meant to be a light, quick technique. Avoid brushing over the same area too many times, or you risk over-highlighting the miniature.
Wrong Brush Type: Avoid using a fine detail brush for dry brushing. A stiff, wide brush works much better for this technique.
Final Thoughts on Dry Brushing for Miniatures
Dry brushing is a fast, efficient, and easy technique that can dramatically improve the appearance of your miniatures. With a few strokes of a nearly dry brush, you can highlight raised details, create weathered effects, and bring your miniatures to life. As with any technique, practice makes perfect, so experiment with different brushes, paints, and surfaces to find the best approach for your models.
FAQs
What is the best brush for dry brushing miniatures?
A stiff, flat, synthetic brush works best for dry brushing miniatures. You can also use old, worn-out brushes for this purpose.Can I use dry brushing for fine details?
Dry brushing is best for highlighting raised areas and textures, but it’s not suitable for fine detail work.What is progressive dry brushing?
Progressive dry brushing involves layering multiple lighter shades on top of each other to create smooth transitions and more realistic highlights.