
Miniature basing ideas for Beginners
Check out some great ideas for basic bases. Set the tone for your army with these simple and effective basing ideas for your miniatures. #terrainbuilding,#miniaturepainting
Shaun Montgomery, Griffin Williams
9/25/20246 min read
Miniature Basing Ideas for Beginners: Bring Your Models to Life!
If you’re just getting into miniature painting, it’s easy to focus on perfecting the paint job on your models and forget about one important detail—the base! A great base can enhance your miniature, making it stand out and tell a story. Whether you’re creating a battlefield scene or a serene forest floor, adding creative basing to your miniatures is a fun way to give them personality.
In this guide, I’ll show you some easy and effective miniature basing ideas for beginners. No advanced techniques or expensive materials required—just a few simple steps to make your miniatures pop!
Why Basing Matters
Basing isn't just an afterthought. It's a crucial part of the overall presentation of your miniature. A well-done base:
Completes the miniature: The base provides context, making the figure look like it’s part of a scene rather than just sitting on a flat surface.
Enhances the narrative: You can tell a story with your base. Is your figure standing in a dense jungle, a muddy battlefield, or on a sci-fi spaceship?
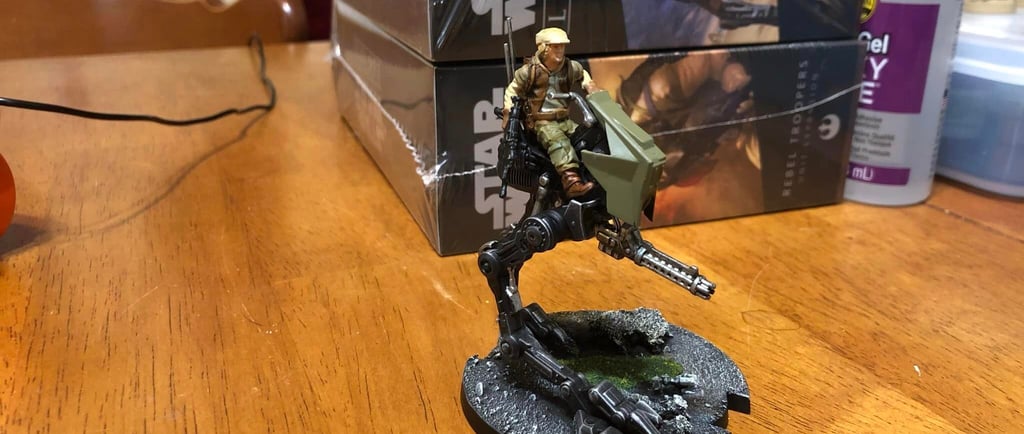
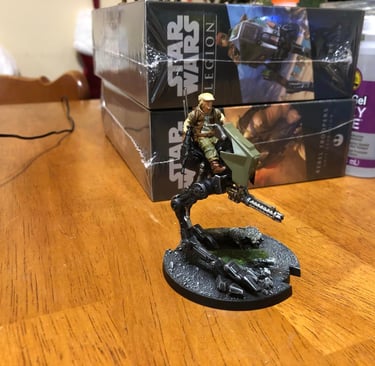
Adds texture and detail: The base gives you a chance to play with different materials and textures, making your model visually interesting from every angle. In large army type games like Warhammer40k the bases really help tell the story of your army or force. For example my Red scorpion Space Marines are based on a somewhat dry desert planet with scarce greenery and plant life. It lends to my story for the chapter being from a dry arid landscape. Don’t be afraid to tell a story through your bases!
What You’ll Need for Basic Basing
Before we get into the ideas, let’s go over the essential supplies. Most of these are inexpensive and easy to find:
Glue:
PVA glue (white glue) is perfect for attaching materials to your base. Super glue works for heavier materials or if you need a fast bond.Basing Materials:
You can get creative here! Some great beginner materials include sand, gravel, static grass, tufts, cork, and small rocks. You don’t need to buy expensive basing kits—many of these can be found at craft stores or even in your backyard.Paints:
You’ll want to paint the base to match the theme of your model. Earthy tones like browns, greys, and greens are commonly used, but you can get creative with vibrant colors depending on the setting.Tools:
A hobby knife, tweezers, and a small sculpting tool are useful for shaping and placing materials.
Tip: You can find lots of great basing materials in nature! Tiny rocks, bits of bark, and sand can all be used to create realistic and unique bases. I pull sand and rock from my backyard as well as play sand from our sandbox outside. In addition the small square cork boards you can find in the office supply aisle as Walmart work great for layering on the base to form rock formations etc..
Simple Miniature Basing Ideas for Beginners
Now, let’s dive into some easy and effective basing ideas that you can try on your next project.
1. Classic Sand and Gravel Base
The classic sand and gravel base is a staple for miniature painters, and for good reason—it's simple, quick, and looks great on almost any model.
How to Do It:
Apply a layer of PVA glue to the base of your miniature, then dip it into a container of sand or fine gravel. Tap off the excess and let it dry completely. Once dry, you can paint the sand in earthy tones to match the setting, then drybrush lighter colors over the top to bring out the texture.Perfect For:
Sci-fi soldiers, fantasy adventurers, or any figure that needs a gritty, grounded base. This technique works well for battlefields, wastelands, or city ruins. Be sure to check out our Video on Basic bases on YouTube at A Fist Full of Dice.
Tip: Want to add more detail? Sprinkle in a few small rocks or larger gravel pieces for variety before the glue dries. This will give your base a more natural, uneven look.
2. Grassy Field Base
A grassy base is ideal for woodland or outdoor settings. It’s easy to achieve and gives your miniature a fresh, vibrant feel.
How to Do It:
Start by coating the base with a layer of PVA glue and sprinkle on static grass or grass tufts. For a natural look, mix different lengths and shades of grass. After the glue dries, gently blow or tap the base to help the grass stand upright.Perfect For:
Fantasy elves, knights, or any character that looks at home in nature. It’s also great for showcasing bright, colorful models.
Common Mistake to Avoid: Using too much glue! A thin layer is all you need. If you use too much, the grass can clump together or lose its natural look.
3. Rocky or Mountainous Base
A rocky base adds a sense of ruggedness to your miniature, making it look like it’s traversing a dangerous landscape.
How to Do It:
Use small rocks, pieces of cork, or chunks of bark to create the look of a rocky outcrop. Glue these pieces to the base and fill in any gaps with sand or gravel. Once everything is dry, paint the rocks in shades of grey, brown, or even dark purple for a fantasy twist. Drybrush lighter shades to highlight the textures.Perfect For:
Dwarves, adventurers, or monsters from a harsh, mountainous environment.
4. Snowy Base
A snowy base can give your miniatures a cool, frosty appearance. It’s perfect for winter-themed armies or individual models.
How to Do It:
After applying a layer of PVA glue to the base, sprinkle on baking soda or dedicated model snow flocking. Once it’s dry, you can lightly brush on more glue in places where you want to add more snow or build up thicker drifts. You can also mix the baking soda with glue and a little water to create a paste for more controlled snow effects.Perfect For:
Frost giants, tundra-dwelling warriors, or sci-fi soldiers in arctic environments.
Pro Tip: To give your snow a more realistic, icy shine, brush on a thin coat of gloss varnish after it dries.
5. Urban or Sci-Fi Base
Urban or sci-fi bases are great for futuristic settings, giving your model the appearance of walking through a city street or on a spaceship.
How to Do It:
Use plasticard, small bits of wire, and textured materials to create a sleek, industrial look. Paint the base with metallic colors like gunmetal, dark grey, or black, and drybrush lighter colors to give it a worn, weathered appearance. You can even add small pieces of scrap plastic to represent broken machinery or pipes.Perfect For:
Space marines, cyberpunk characters, or anyone in a futuristic or dystopian world.
6. Forest Floor Base
A forest floor base is a fantastic way to add a sense of nature and life to your miniatures.
How to Do It:
Start with a base of sand or fine gravel. Once that’s dry, add small clumps of static grass and tiny pieces of twig or bark to mimic fallen branches and leaves. You can also glue small stones or cork pieces to represent larger rocks or tree stumps. Paint the base in earthy tones, and don’t forget to drybrush a bit of lighter green or brown for a more realistic finish.Perfect For:
Wood elves, rangers, or any creature that thrives in a natural setting.
Tip: Adding a few drops of brown or green wash over the sand can help blend everything together and give it a more cohesive, natural look.
Common Basing Mistakes and How to Avoid Them
As a beginner, it’s easy to make a few missteps when working on bases. But don’t worry! Here are some common mistakes and how you can avoid them:
Rushing the Glue Drying Time
Patience is key when basing. Letting the glue dry completely before painting or applying more materials prevents everything from moving or clumping together.Solution: Wait at least a couple of hours for the glue to dry fully, especially if you’re adding layers of material.
Overloading the Base with Too Much Stuff
While it’s tempting to add a lot of different materials, too many elements can clutter the base and take attention away from your miniature.Solution: Stick to one or two types of material for a clean, cohesive look. Less is often more!
Not Matching the Base to the Miniature
A base that doesn’t complement the miniature can make it feel disconnected. For example, a lush grass base might look out of place under a futuristic robot.Solution: Consider the environment your miniature would naturally inhabit. Match the base to the story or theme of your model.
Final Thoughts on Miniature Basing for Beginners
Basing your miniatures is an enjoyable way to add that final touch to your models, bringing them to life and creating a complete scene. Even simple bases can have a big impact on how your miniatures look, so don’t overlook this important step! Whether you’re going for a rocky wasteland or a peaceful forest, the ideas here will help you get started.
Related Articles:
FAQs
Can I use regular sand from outside for my miniature bases?
Yes! Just make sure to sift out any larger pieces and clean the sand before applying it to your base.Do I need special glue for basing?
No, basic PVA glue or white glue works perfectly for most basing materials.
How do I make sure my base doesn’t overshadow my miniature?
Keep it simple. Focus on a few elements that complement your model rather than overwhelming it with too many details.