
Miniature painting: A Beginners guide to beginner techniques
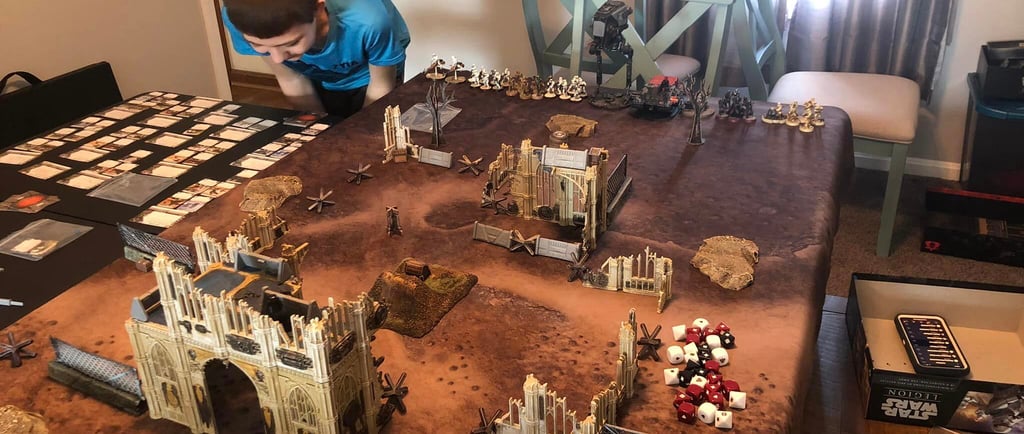
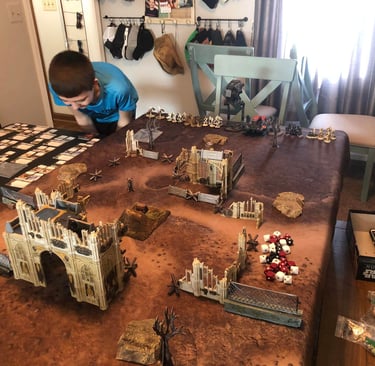
Join me, a Newbie painter just like you on my painting journey My name is Griffin and I am 14 years old and really getting started on my painting journey
Griffin willaims
1/8/20253 min read
Miniature Painting: A Beginners guide to Beginner Techniques to Level Up Your Minis
Hey there, fellow adventurers! My name's Griffin, and I’m a beginner miniature painter just like you. If you’re anything like me, you probably picked up your first mini with a mix of excitement and terror. (Can I actually do this? Spoiler alert: Yes, you can!) Let me share the beginner techniques that have helped me go from "meh" to "heck yeah!" with my minis. Not gonna Lie I have learned a lot from watching my Stepdad paint his miniatures and it always got me excited to try painting and more importantly play the games with my freshly painted Mini’s
Step 1: Base Coating
Think of base coating as the foundation of your miniature masterpiece. It’s where you block in the main colors and make your mini start to look alive. Here’s what I learned the hard way: don’t slap on thick paint straight from the pot! Thin it out with a drop or two of water on your palette (or a fancy wet palette if you’re feeling adventurous). This makes the paint glide on smoothly and avoids that chunky, "lumpy pancake" look. Trust me—thin layers are your new best friend.
Step 2: Washing (AKA Magic in a Bottle)
Washing is my favorite part because it’s basically cheating… but in a good way. A wash is a super-thinned paint that seeps into the crevices of your mini, adding instant depth and shadow. Imagine your mini suddenly gaining definition like it just hit the gym. You just slather it on—seriously, don’t overthink it—and let gravity do the work. Pro tip: Keep a dry brush or tissue handy to wipe off any areas where the wash pools too much. I keep a roll of paper towels near my painting desk to wipe away or dab off the wash where I don’t want it to be. Its also very handy for those spills! Learned my lesson the hard way as a full bottle of Brown wash tipped over on my desk!
Step 3: Dry Brushing (The Highlight Hero)
Okay, dry brushing is the technique that made me feel like a wizard. You take a brush, dab on some paint, and then wipe most of it off on a paper towel until it’s practically dry. (Looking to build my own dry brush palette soon so stay tuned!) Then, lightly drag the brush over your mini’s raised surfaces. Boom! Instant highlights. It’s like giving your mini a glow-up with minimal effort. This technique is perfect for adding texture to things like fur, chainmail, or stone. Keep in mind the direction from which your light source is coming. For now just imagine it hits the mini from the top down and that is the direction you want to dry brush. Start your stroke at the top of your mini and flick downward. This helps catch all the raised edges . Practice, practice practice!
Tips From One Beginner to Another
Patience is key. Don’t rush through your painting—layering thin coats takes time but gives the best results.
Invest in good brushes. I started with cheap brushes, and wow, what a difference it made when I upgraded. (Your mini deserves it!) Good does not mean expensive, find ones that you like and stick with them. The brush by itself does not make you a better painter. Practice, repetition and a desire to have fun do!
Practice makes progress. Your first mini might not win awards, but it’ll be uniquely yours. And each one will get better!
That’s it for my top beginner tips! If you’re looking for more in-depth guides (or just want to geek out over all things miniature painting), check out more of our articles here at www.reelforgestudio.com for tutorials and product reviews. Now, grab your minis, your brushes, and let’s paint some epic stories into these little figures! Happy painting!